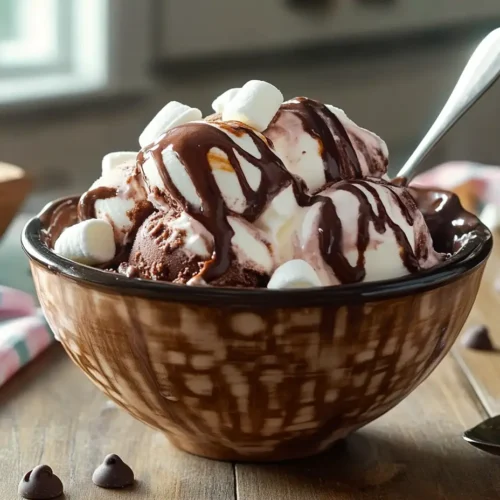
Chocolate Marshmallow Ice Cream: A Creamy & Indulgent Treat
This Chocolate Marshmallow Ice Cream is rich, creamy, and packed with gooey marshmallow swirls. Made with a no-churn method, this recipe is easy, delicious, and requires no ice cream maker! Perfect for a family treat or a decadent dessert.
Equipment
- Mixing bowls for combining ingredients
- Hand mixer or stand mixer for whipping the cream
- Rubber spatula for folding ingredients together
- Microwave-safe bowl for melting marshmallows if needed
- Loaf pan or freezer-safe container for storing the ice cream
Ingredients
For the Chocolate Ice Cream Base:
- 2 cups heavy cream for a rich, creamy texture
- 1 can 14 oz sweetened condensed milk (adds sweetness and smoothness)
- ½ cup whole milk helps balance the consistency
- ¼ cup unsweetened cocoa powder for deep chocolate flavor
- 1 teaspoon vanilla extract enhances the chocolate flavor
- ¼ teaspoon salt balances the sweetness
For the Marshmallow Swirl:
- 1 cup marshmallow fluff for gooey swirls in the ice cream
- 1 tablespoon milk helps loosen the marshmallow for easy swirling
Optional Mix-ins: (Choose your favorites!)
- ½ cup chocolate chips or chunks adds extra crunch
- ¼ cup crushed graham crackers for a s’mores-inspired flavor
- ¼ cup caramel or fudge sauce for extra decadence
Instructions
Step 1: Prepare the Chocolate Ice Cream Base
- 1️⃣ In a large mixing bowl, whisk together:
- Sweetened condensed milk
- Whole milk
- Unsweetened cocoa powder
- Vanilla extract
- Salt
- 2️⃣ In a separate bowl, use a hand mixer or stand mixer to whip the heavy cream on medium-high speed until stiff peaks form (about 3-4 minutes).
- 3️⃣ Gently fold the whipped cream into the chocolate mixture using a rubber spatula until fully combined.
💡 Pro Tip: Be careful not to overmix—the goal is to keep the mixture light and airy for a fluffy texture!
Step 2: Prepare the Marshmallow Swirl
- 4️⃣ In a small microwave-safe bowl, combine:
- Marshmallow fluff
- 1 tablespoon milk
- 5️⃣ Microwave for 10-15 seconds, then stir until smooth.
💡 If using mini marshmallows instead of fluff, microwave them with the milk until melted, then stir into a smooth sauce.
Step 3: Assemble the Ice Cream
- 6️⃣ Pour half of the chocolate ice cream base into a freezer-safe container.
- 7️⃣ Drizzle half of the marshmallow mixture over the top.
- 8️⃣ Use a knife or skewer to gently swirl the marshmallow into the chocolate.
- 9️⃣ Repeat with the remaining chocolate ice cream and marshmallow swirl.
- 🔟 Sprinkle any optional mix-ins (like chocolate chips or graham crackers) on top.
💡 For a stronger s’mores flavor, layer in crushed graham crackers between each swirl!
Step 4: Freeze & Serve
- 1️⃣1️⃣ Cover the container with plastic wrap or a lid to prevent ice crystals from forming.
- 1️⃣2️⃣ Freeze for at least 4-6 hours, or until firm.
- 1️⃣3️⃣ When ready to serve, let the ice cream sit at room temperature for 5 minutes before scooping.
💡 Want a fun way to serve it? Scoop it between two Wafer Cookies for an easy homemade ice cream sandwich!
Notes
✅ Storage Tips:
- Store in an airtight, freezer-safe container for up to 2 months.
- Press a layer of plastic wrap directly onto the ice cream surface before sealing the lid to prevent ice crystals.
- Let the ice cream sit at room temperature for 5 minutes before scooping for the best texture.
- Warm your ice cream scoop under hot water before scooping for easier serving.
- S’mores Ice Cream: Add crushed graham crackers and chocolate chunks.
- Rocky Road Style: Add mini marshmallows, almonds, and fudge swirls.
- Double Chocolate: Mix in extra dark chocolate chips for a richer flavor.