Baseball Cake Recipe: A Home Run for Any Celebration
Few things are as exciting as celebrating a special moment with a themed cake. Whether it’s a child’s birthday party, a baseball game victory, or simply a treat for a sports enthusiast, a baseball cake is a delightful way to add fun and flavor to the occasion.
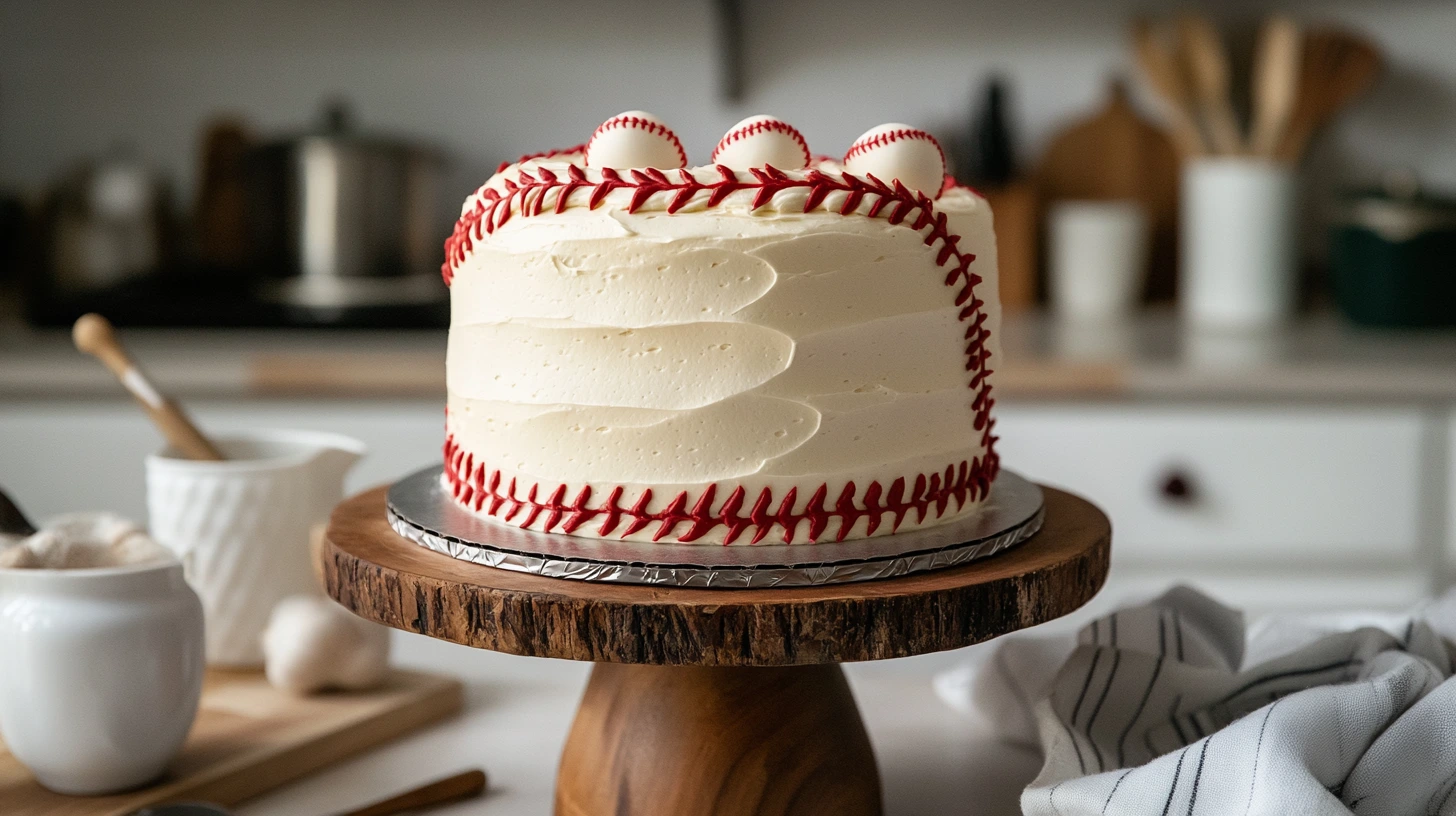
Imagine the joy on your guests’ faces as they see a perfectly crafted baseball cake, complete with its detailed stitching and vibrant design. The best part? This cake is easy enough for beginners to tackle yet customizable for seasoned bakers to make it uniquely theirs.
In this recipe, we’ll guide you through every step of creating a delicious and visually striking baseball cake, from selecting the right ingredients to decorating like a pro. You’ll also discover helpful tips, creative variations, and pairing ideas to make this dessert the star of any celebration.
Key Takeaways:
- Learn how to make a baseball cake with simple tools and techniques.
- Find tips for achieving a professional-looking finish with easy-to-follow steps.
- Explore creative customization options to suit your party theme.
- Pair the cake with complementary treats and beverages for a complete party menu.
Table of Contents
Ingredients for the Perfect Baseball Cake
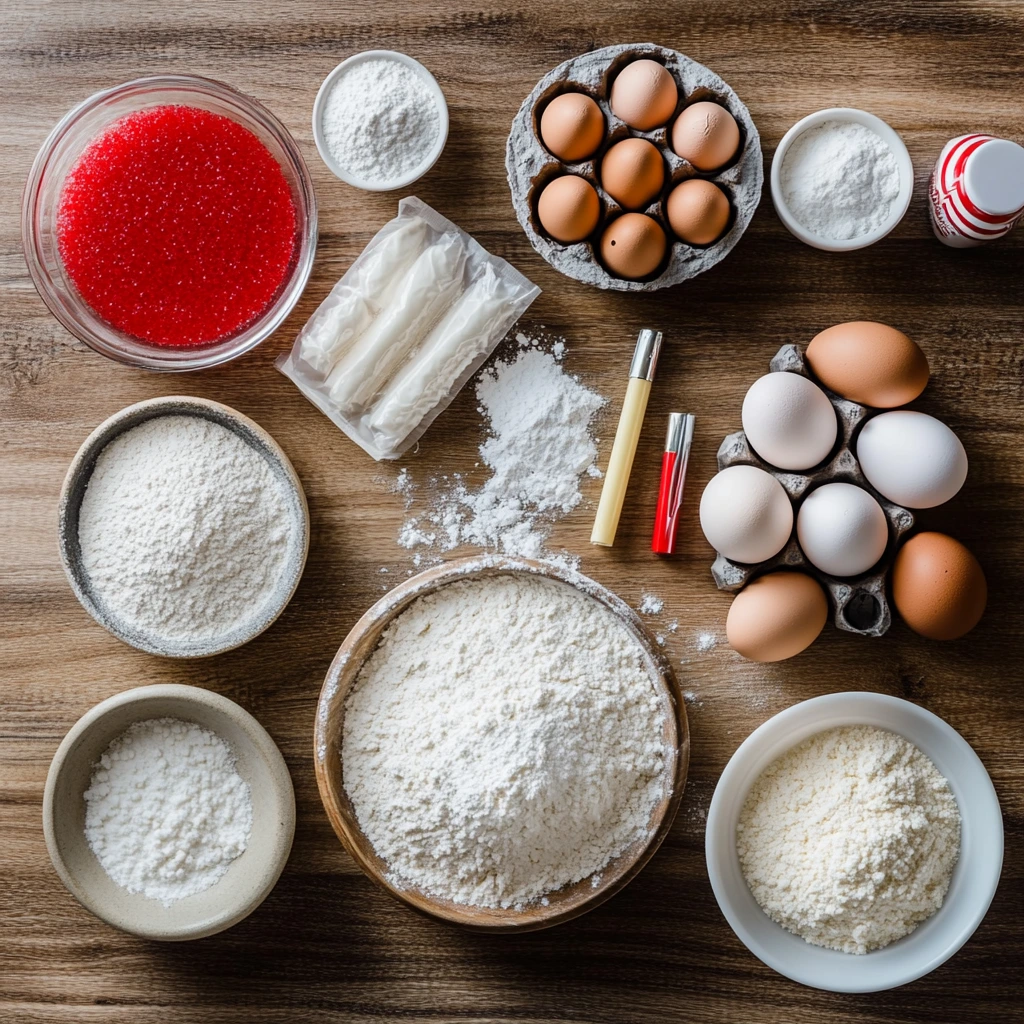
Creating a stunning baseball cake starts with the right ingredients and tools. Below is a list of essentials, along with a few optional items to help you personalize your masterpiece.
The Cake Base
The foundation of your baseball cake is the cake itself. Choose a flavor that suits your event:
- Vanilla Cake Mix: A classic choice that complements any frosting.
- Chocolate Cake Mix: Adds a rich, indulgent flavor to your design.
- Homemade Cake Batter: Use your favorite recipe to create a from-scratch base.
Frosting Essentials
Frosting is key to achieving a smooth and polished look.
- Buttercream Frosting: Perfect for spreading and piping.
- White Gel Food Coloring: To achieve the bright white base of a baseball.
- Red Gel Food Coloring: For precise, vibrant stitching details.
Decorative Tools and Add-Ons
These tools and decorations help bring your baseball design to life:
- Piping Bags: Use with a small round tip to pipe the red stitching.
- Fondant (Optional): For a sleek, professional finish.
- Edible Markers (Optional): To add personalized designs or text.
Optional Enhancements
Take your cake to the next level with these extras:
- Sprinkles or Edible Glitter: Add sparkle for a festive touch.
- Custom Toppers: Incorporate team logos or player names for a personal touch.
- Flavor Variations: Infuse the frosting with vanilla, almond, or mint extract.
Step-by-Step Guide to Making a Baseball Cake
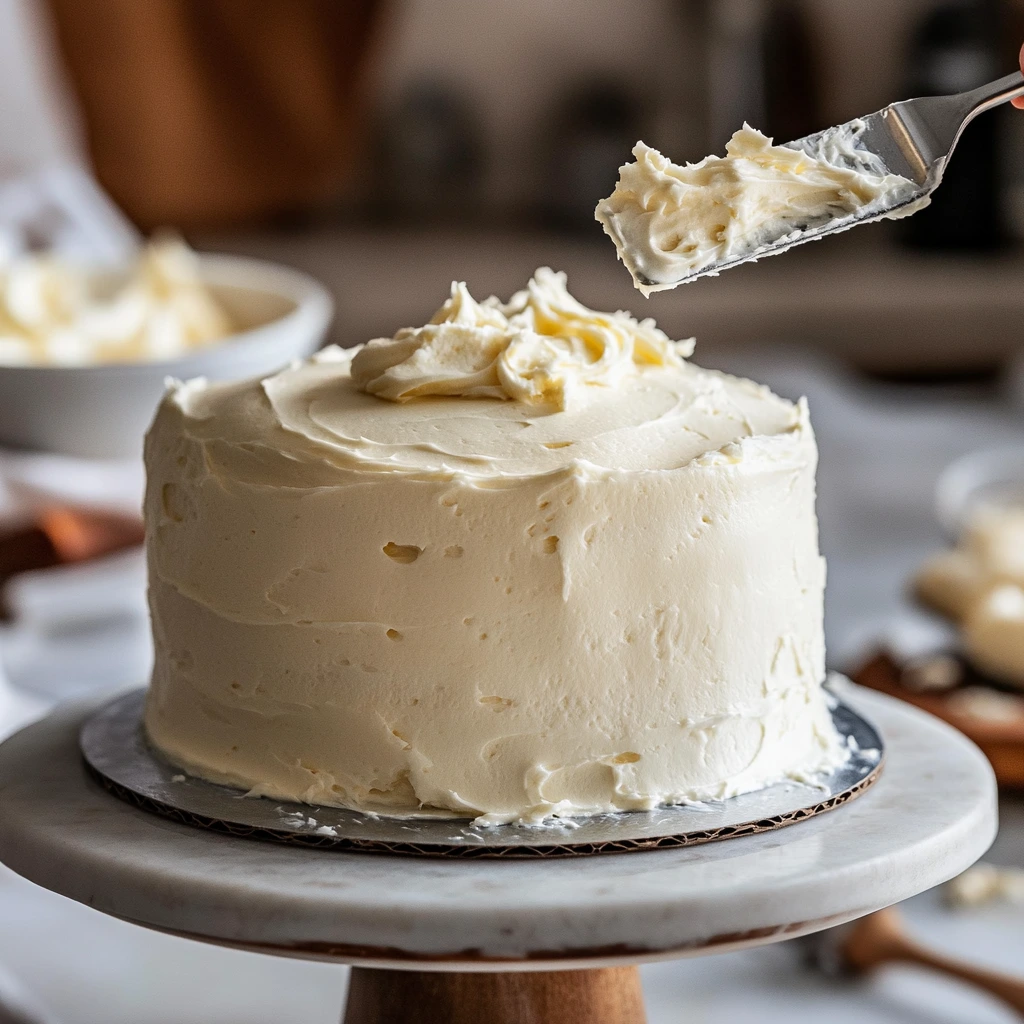
Creating a baseball cake might look challenging, but with this detailed guide, you’ll find it easy and enjoyable. Follow these steps to bring your edible masterpiece to life.
1. Preparing the Cake Base
The first step is to bake a perfectly shaped cake.
- Step 1: Preheat your oven according to the instructions on your cake mix or recipe.
- Step 2: Grease two 8-inch round cake pans and line them with parchment paper for easy removal.
- Step 3: Prepare the cake batter (vanilla or chocolate) and divide it evenly between the pans.
- Step 4: Bake until a toothpick inserted in the center comes out clean, about 25–30 minutes.
- Step 5: Let the cakes cool completely on a wire rack before decorating.
2. Assembling the Cake Layers
Proper assembly ensures a sturdy and polished cake.
- Step 1: Level the cakes with a serrated knife to create flat surfaces.
- Step 2: Place one cake layer on a serving board or plate.
- Step 3: Spread a layer of buttercream frosting on top of the first layer.
- Step 4: Stack the second cake layer on top, ensuring alignment.
3. Applying the Crumb Coat
A crumb coat seals in crumbs for a smooth final frosting layer.
- Step 1: Spread a thin layer of frosting over the entire cake.
- Step 2: Chill the cake in the refrigerator for 15–20 minutes to set the crumb coat.
4. Frosting the Cake
A clean and smooth frosting layer creates the perfect canvas for your design.
- Step 1: Apply a thick, even layer of white buttercream frosting over the crumb coat.
- Step 2: Use an offset spatula or bench scraper to smooth the frosting for a polished finish.
5. Adding the Baseball Design
This is where your cake transforms into a baseball.
- Step 1: Use red gel food coloring to dye a small batch of buttercream.
- Step 2: Fill a piping bag with the red frosting and fit it with a small round tip.
- Step 3: Pipe two curved lines across the top of the cake to resemble baseball laces.
- Step 4: Add small perpendicular lines along the curves to complete the stitching effect.
6. Optional Decorations
Enhance the look of your cake with creative details.
- Add edible toppers, like a mini bat or baseball glove.
- Sprinkle edible glitter for a festive touch.
- Use edible markers to write a message or the name of a team.
Pro Tips for Success
- Work on a turntable for easier frosting and decorating.
- Chill your piping bag before creating detailed designs for better precision.
- Practice piping the laces on parchment paper before applying them to the cake.
Tips for a Flawless Baseball Cake
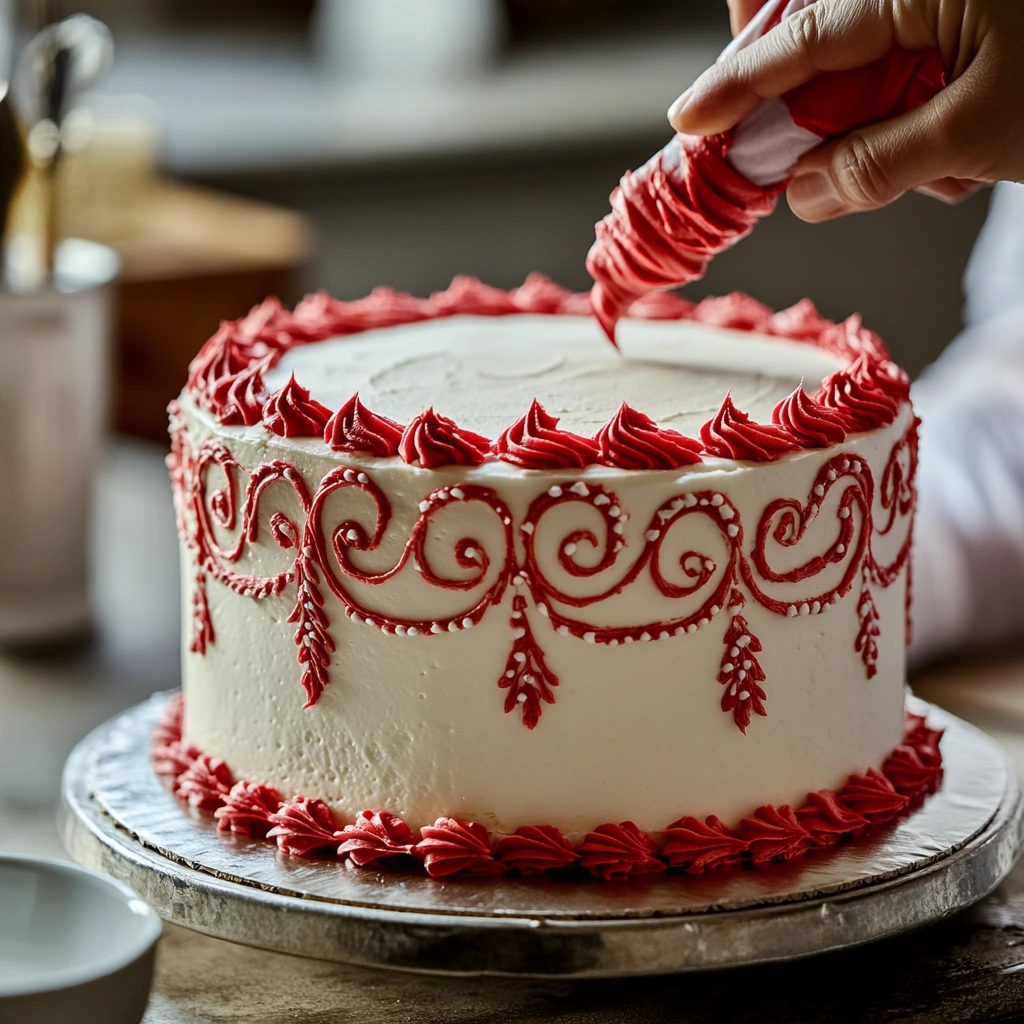
To ensure your baseball cake turns out perfect every time, follow these expert tips. They’ll help you achieve professional results while keeping the process enjoyable and stress-free.
1. Achieving a Smooth Frosting Finish
A flawless base layer of frosting is essential for a polished look.
- Use an Offset Spatula: This tool provides control and helps spread the frosting evenly.
- Warm Water Trick: Dip the spatula in warm water, shake off excess, and glide it over the frosting for a smooth surface.
- Chill Between Steps: Refrigerate the cake for 15 minutes after applying the crumb coat and before the final frosting layer.
2. Piping Perfect Baseball Laces
The red laces are the most recognizable feature of a baseball cake, so precision matters.
- Practice First: Use parchment paper to practice piping the curved lines and stitching.
- Steady Your Hand: Rest your elbow on the counter for better control while piping.
- Choose the Right Tip: A small round piping tip ensures clean, sharp lines.
3. Selecting the Right Tools
Investing in a few key tools makes the decorating process easier:
- A turntable allows you to rotate the cake smoothly while frosting or decorating.
- A bench scraper helps create even sides and a clean edge for the frosting.
- Food-safe brushes are great for blending colors or applying edible glitter.
4. Avoid Common Mistakes
Keep these pitfalls in mind for a hassle-free experience:
- Overloading Frosting: Too much frosting can make piping difficult and lines messy. Use just enough for clean designs.
- Skipping the Crumb Coat: This step is crucial to prevent crumbs from ruining the smooth surface.
- Not Allowing the Cake to Cool: Frosting a warm cake can cause the layers to slip or melt the frosting.
5. Creative Customization Tips
Make your baseball cake truly unique with these ideas:
- Color Variations: Use your favorite team’s colors for the stitching or add colored sprinkles to the base.
- Themed Toppers: Include fondant baseball gloves, bats, or logos to elevate the design.
- Textured Frosting: Try a textured finish to mimic the leather of a baseball for a unique twist.
Creative Variations for Your Baseball Cake
Take your baseball cake to the next level with these creative twists. Whether you’re catering to dietary preferences or adding a personal touch, these ideas will make your cake unforgettable.
1. Flavorful Twists
Switch up the classic vanilla or chocolate base with these exciting options:
- Red Velvet Cake: The vibrant red color adds a surprise when sliced.
- Lemon Cake: A refreshing citrus flavor pairs beautifully with the sweetness of the frosting.
- Funfetti Cake: Colorful sprinkles baked into the batter create a festive and playful vibe.
2. Mini Baseball Cupcakes
For a party-friendly alternative, make individual servings:
- Use cupcake liners and bake mini cakes.
- Frost the tops with white buttercream and pipe red stitching for mini baseball replicas.
- Perfect for kids’ parties or sports events where guests can grab and go.
3. Team-Themed Cakes
Show your team spirit by incorporating specific designs:
- Add edible team logos or fondant letters representing your favorite team.
- Use team colors for the stitching or frosting accents.
- Write a motivational message or cheer on top for a game day celebration.
4. Dietary-Friendly Options
Ensure everyone can enjoy your cake by making simple adjustments:
- Gluten-Free: Use a gluten-free cake mix or almond flour for a soft, moist base.
- Vegan: Substitute dairy-free butter, plant-based milk, and aquafaba for egg whites.
- Low-Sugar: Use sugar substitutes like stevia or monk fruit in the batter and frosting.
5. Custom Decorations
Unleash your creativity with these decoration ideas:
- Edible Glitter: Sprinkle glitter around the base for a sparkling finish.
- Fondant Figures: Create mini bats, gloves, or a scoreboard out of fondant.
- Color Splash: Add bold, colorful splashes behind the baseball design for a modern look.
How to Serve and Store Your Baseball Cake
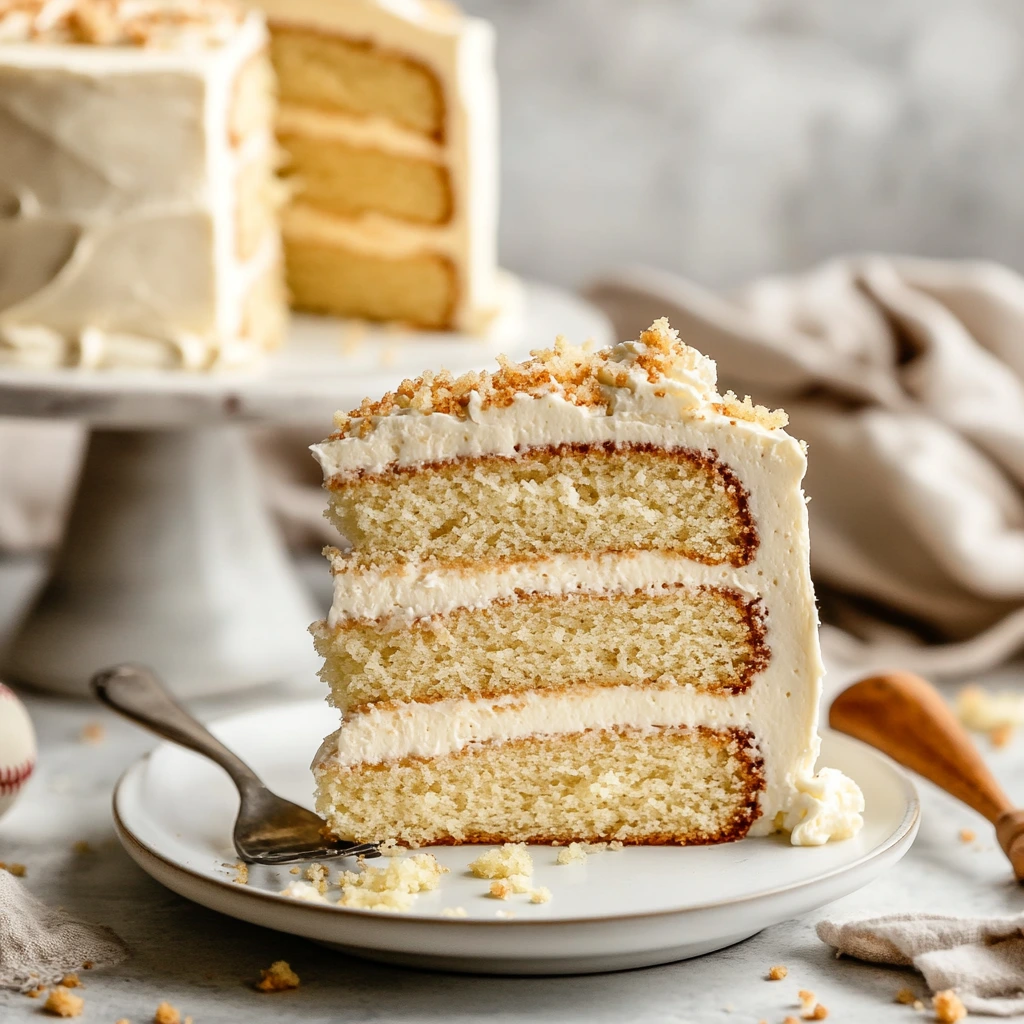
Your baseball cake deserves to be enjoyed at its best, and proper serving and storage techniques will ensure it stays fresh and delicious.
1. Serving the Baseball Cake
- Perfect Timing:
- Serve the cake at room temperature for the best flavor and texture. Remove it from the refrigerator 30 minutes before serving.
- Presentation Tips:
- Place the cake on a decorative stand or platter to make it the centerpiece of your table.
- Add themed decorations like mini bats, gloves, or edible confetti around the base for extra flair.
- Portioning:
- Use a long, sharp knife to slice the cake evenly. Clean the knife between cuts for neat slices.
- Pairing Suggestions:
- Complement the cake with other desserts like Madeline Cookies or savory snacks like popcorn for a full party spread.
2. Storing the Cake
To keep your cake fresh, follow these storage guidelines:
- Unfrosted Layers:
- Wrap unfrosted cake layers in plastic wrap and store at room temperature for up to 2 days or freeze for up to 1 month.
- Decorated Cake:
- Cover the cake loosely with plastic wrap or store in an airtight container. Refrigerate for up to 3 days to maintain freshness.
- Freezing Slices:
- Slice the cake and wrap individual pieces tightly in plastic wrap. Store in a freezer-safe bag for up to 2 months. Thaw at room temperature before serving.
3. Reviving Leftovers
- Refreshing Frosting:
- Let refrigerated cake sit at room temperature to soften the frosting before serving.
- Rehydrating Cake:
- Add a light drizzle of syrup (like simple syrup or flavored sugar syrup) over dry areas of the cake to restore moisture.
Frequently Asked Questions About Baseball Cake
Here are answers to some common questions about making and customizing your baseball cake.
1. Can I Make This Cake Without a Specialty Pan?
Yes! A specialty pan isn’t necessary to create a round baseball cake.
Use two 8-inch round cake pans for a classic shape.
If you want a 3D effect, carve a dome shape from a round cake using a serrated knife.
2. What’s the Best Way to Pipe the Stitching?
Creating clean and precise stitching is easier than it seems.
Practice First: Try piping on parchment paper before applying it to the cake.
Use the Right Tools: A small round piping tip and steady pressure will give you smooth lines.
Chill Your Cake: A cold cake holds frosting details better and prevents smudging.
3. How Do I Customize the Cake for Dietary Restrictions?
This cake can be adapted for various dietary needs:
Gluten-Free: Use gluten-free cake flour or a gluten-free cake mix.
Vegan: Substitute plant-based butter, milk, and egg alternatives like flaxseed meal or applesauce.
Sugar-Free: Opt for natural sweeteners such as stevia or monk fruit.
4. How Far in Advance Can I Make the Cake?
You can prepare the components ahead of time to save effort on the big day:
Bake the cake layers up to 2 days in advance and store them wrapped in plastic wrap at room temperature.
Prepare the frosting up to 3 days ahead and refrigerate it in an airtight container.
Assemble and decorate the cake the day before serving for the freshest look and taste.
5. Can I Add Extra Decorations?
Absolutely! Enhance your baseball cake with creative touches:
Edible Logos: Add fondant or printed edible images of your favorite team’s logo.
Personalized Text: Use edible markers or piping to write messages like “Go Team!” or “Happy Birthday.”
Sprinkles and Glitter: Add a touch of sparkle for a festive vibe.
Final Thoughts: Knock It Out of the Park with This Baseball Cake
Making a baseball cake is more than just baking; it’s about creating a centerpiece that brings joy to any celebration. Whether you’re cheering on your favorite team, celebrating a birthday, or adding fun to a sports-themed event, this cake is guaranteed to be a crowd-pleaser.
With its simple assembly, bold design, and endless customization options, the baseball cake offers a perfect blend of creativity and flavor. From the smooth buttercream frosting to the vibrant red stitching, every detail adds to its charm. Plus, the versatility of flavor choices ensures there’s something for everyone to enjoy.
Pair this cake with complementary desserts like Heart-Shaped Cake or Madeline Cookies for a complete and memorable spread.
So gather your ingredients, unleash your creativity, and step up to the plate—this baseball cake is sure to be a grand slam at your next event!

Comments are closed.